
Build a notes workspace
You’ll set up a small knowledge workspace in Notes: a folder with a few pages, text written with the block editor, links between pages, tags, an imported Markdown file, and a database with a table view and a dashboard chart. About 25 minutes.
What you’ll need
Section titled “What you’ll need”- Ensō open and signed in
- A
.mdfile on your computer to import (any notes you already have — or make a quick one)
1. Create a folder and pages
Section titled “1. Create a folder and pages”- Open Notes (Ctrl+Space,
n, Enter). - In the sidebar header, click the New folder icon. A folder opens in the main pane; type its name in the title field —
Work. - In the folder’s pane, click New page. A child page opens; title it
Weekly review. - Go back to Work in the sidebar and add another page,
Project ideas.
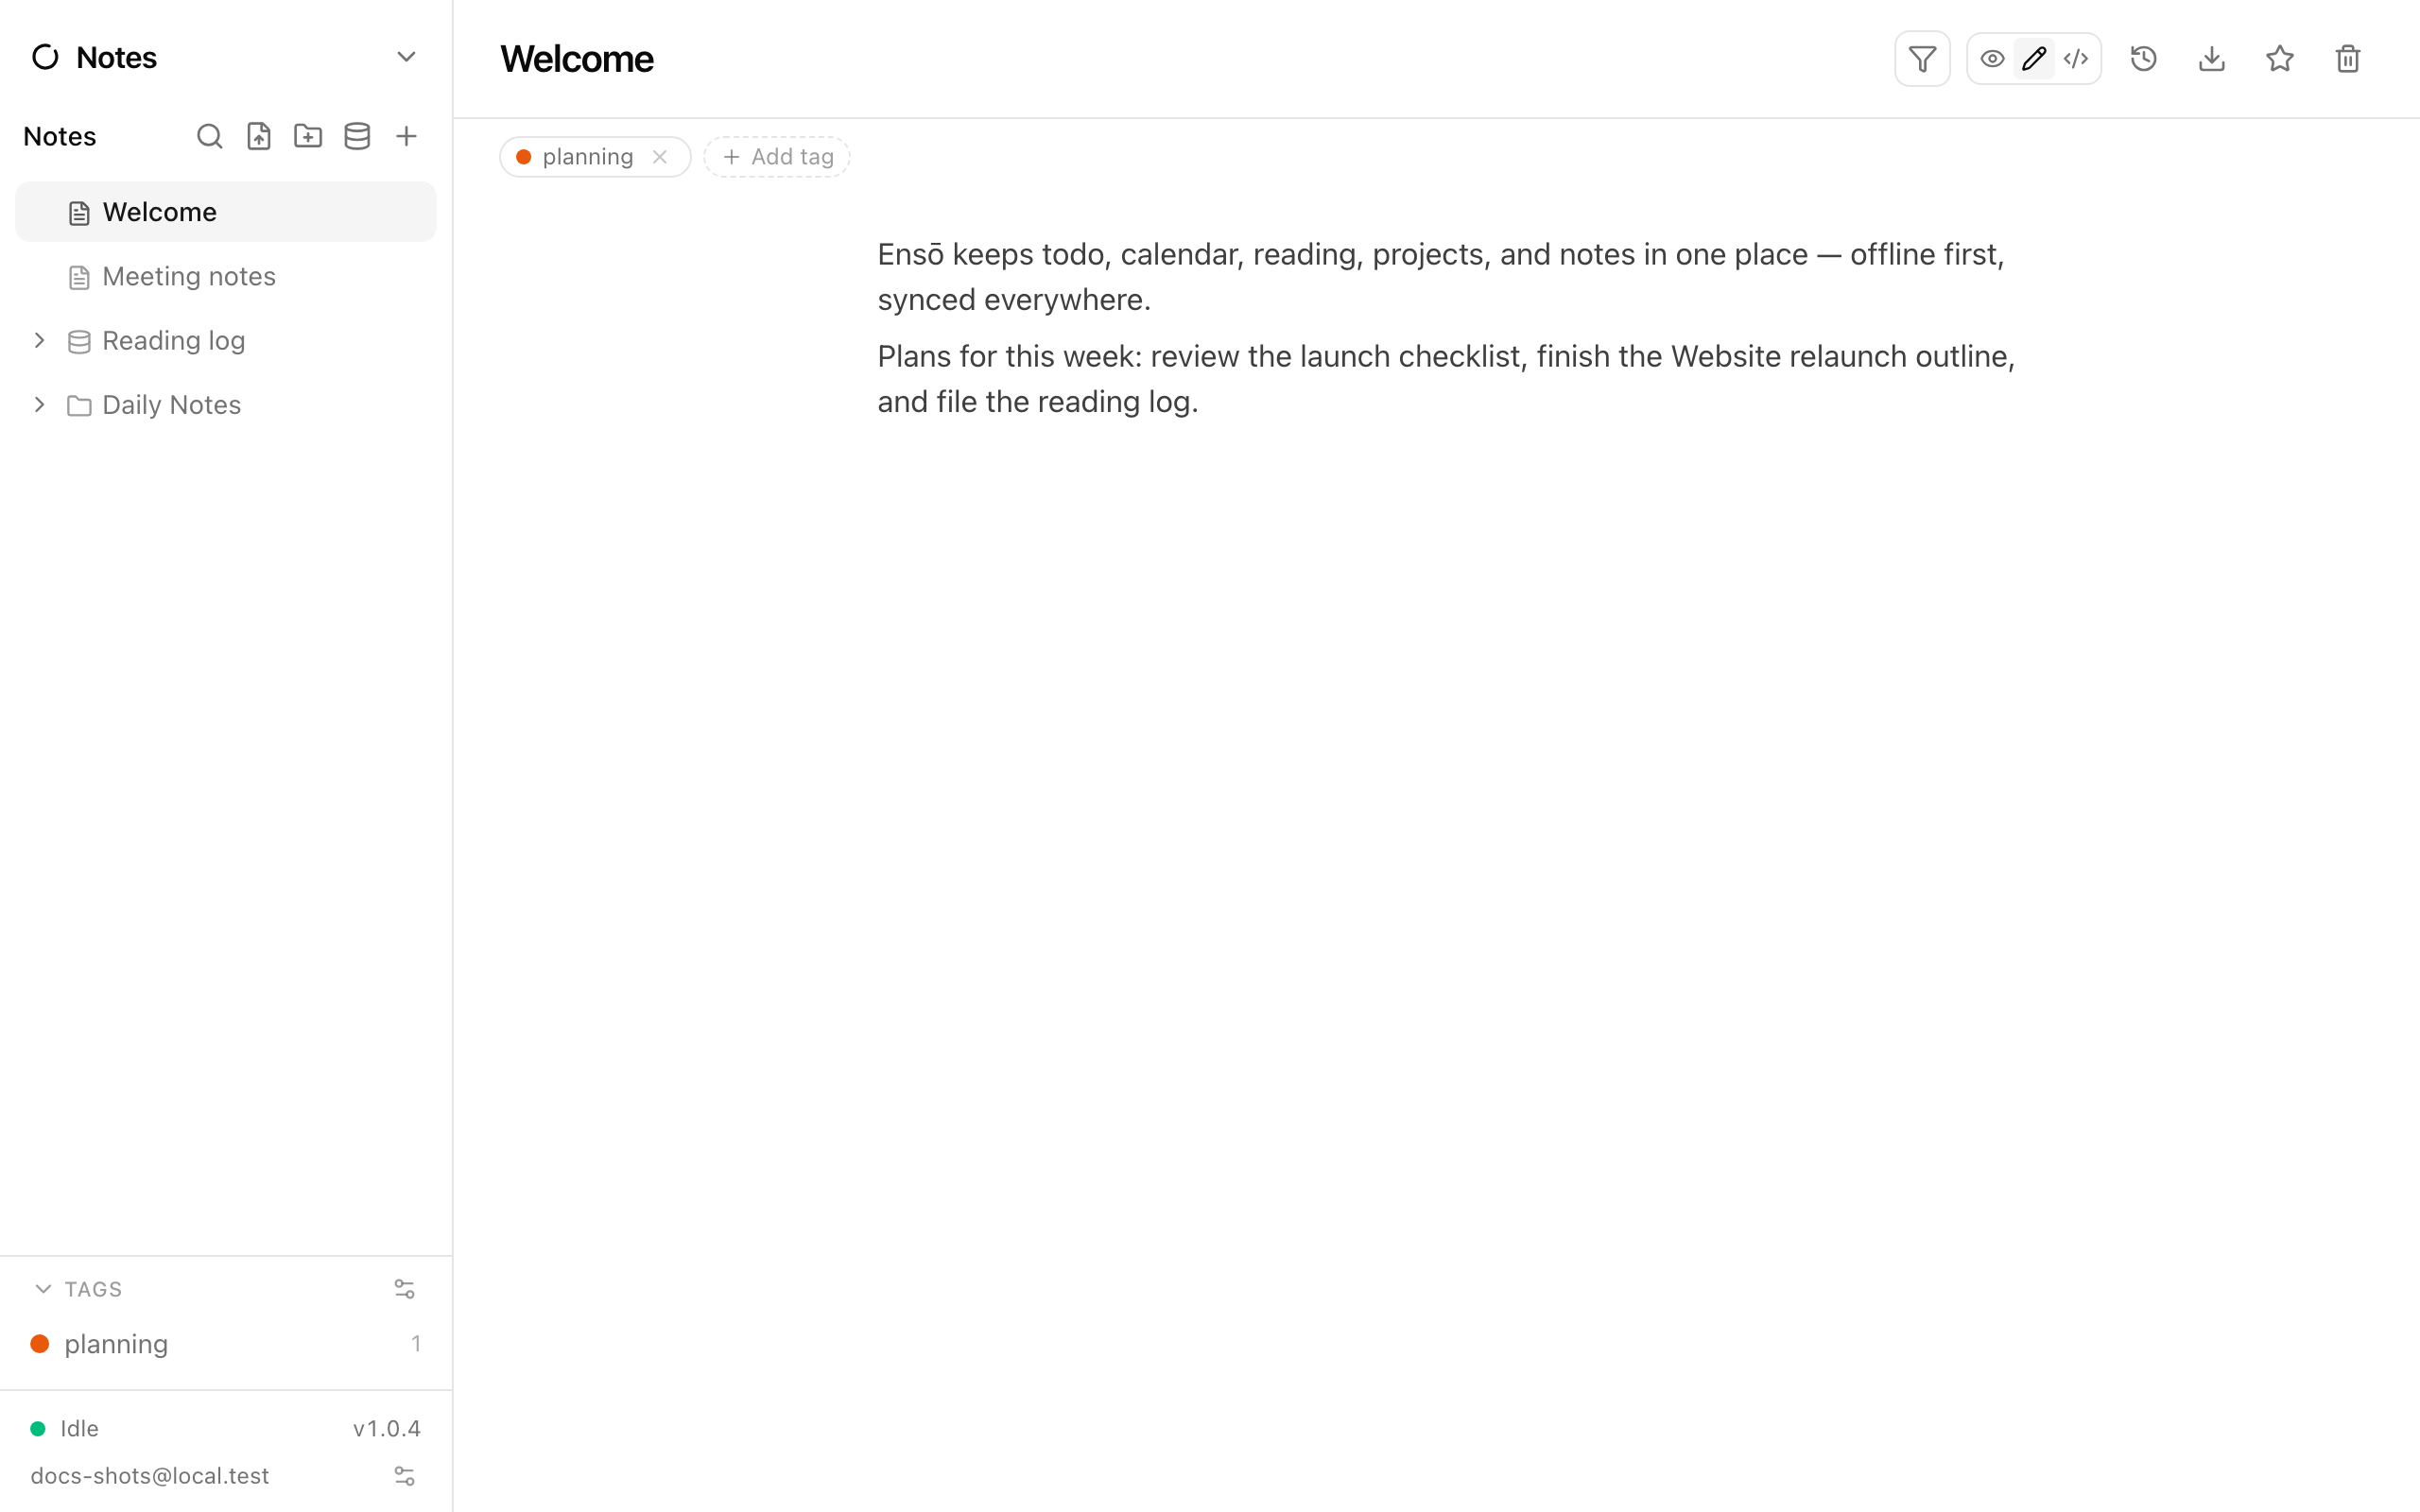
Pages made with the sidebar’s New page icon are top-level. To nest one later, drag it in the sidebar and drop it onto another page or folder (drop at the top or bottom edge of a row to reorder instead).
2. Write with the block editor
Section titled “2. Write with the block editor”Open Weekly review. The editor shows Enter text or type ‘/’ for commands.
- Type
/and pick Heading 2 from the menu; typeWins. Press Enter for a new paragraph. - Type
-(dash, space) to start a Bullet List; add a couple of items. - Type
[]to start a Check List — a checklist item you can tick. - Type
/again to see everything available: headings, Quote, Numbered List, Toggle List, Code Block, Table, Image, Divider, and more.
Hover a block for its handle on the left: drag to reorder, or click it for Delete, Colors, and Move to page….
3. Link pages together
Section titled “3. Link pages together”- In Weekly review, type
[(a single bracket). A Link to page menu lists your pages. - Keep typing to filter —
Proj— and press Enter on Project ideas.
A link chip is inserted. It always shows the page’s current title, so renaming the target keeps links correct. The menu links to existing pages only; create the page first if it doesn’t exist yet.
4. Add tags
Section titled “4. Add tags”- Under the page title, click Add tag.
- In Find or create a tag…, type
reviewand choose Create “review”. The tag gets a colour and appears as a chip. - Tag Project ideas with
ideas.
A Tags section now appears in the sidebar with counts. Click a tag there to show only pages carrying it; click again to clear. The gear (Manage tags) renames, recolours, or deletes tags. Tags work across the whole suite — see Tags and filters.
5. Import a Markdown file
Section titled “5. Import a Markdown file”- Click the Import Markdown icon in the sidebar header (tooltip Import .md file).
- Pick one or more
.md/.markdownfiles.
Each file becomes a top-level page titled after the filename, with headings, lists, and links converted to blocks. Drag it into Work if you want it there. The reverse is the Export as markdown button in the page header — a .md for one page, a .zip if it has sub-pages.
6. Create a database
Section titled “6. Create a database”A database is a special kind of page holding tables and views.
- Open the Work folder and click New database. Title it
Savings. - Click Add the first table, name it
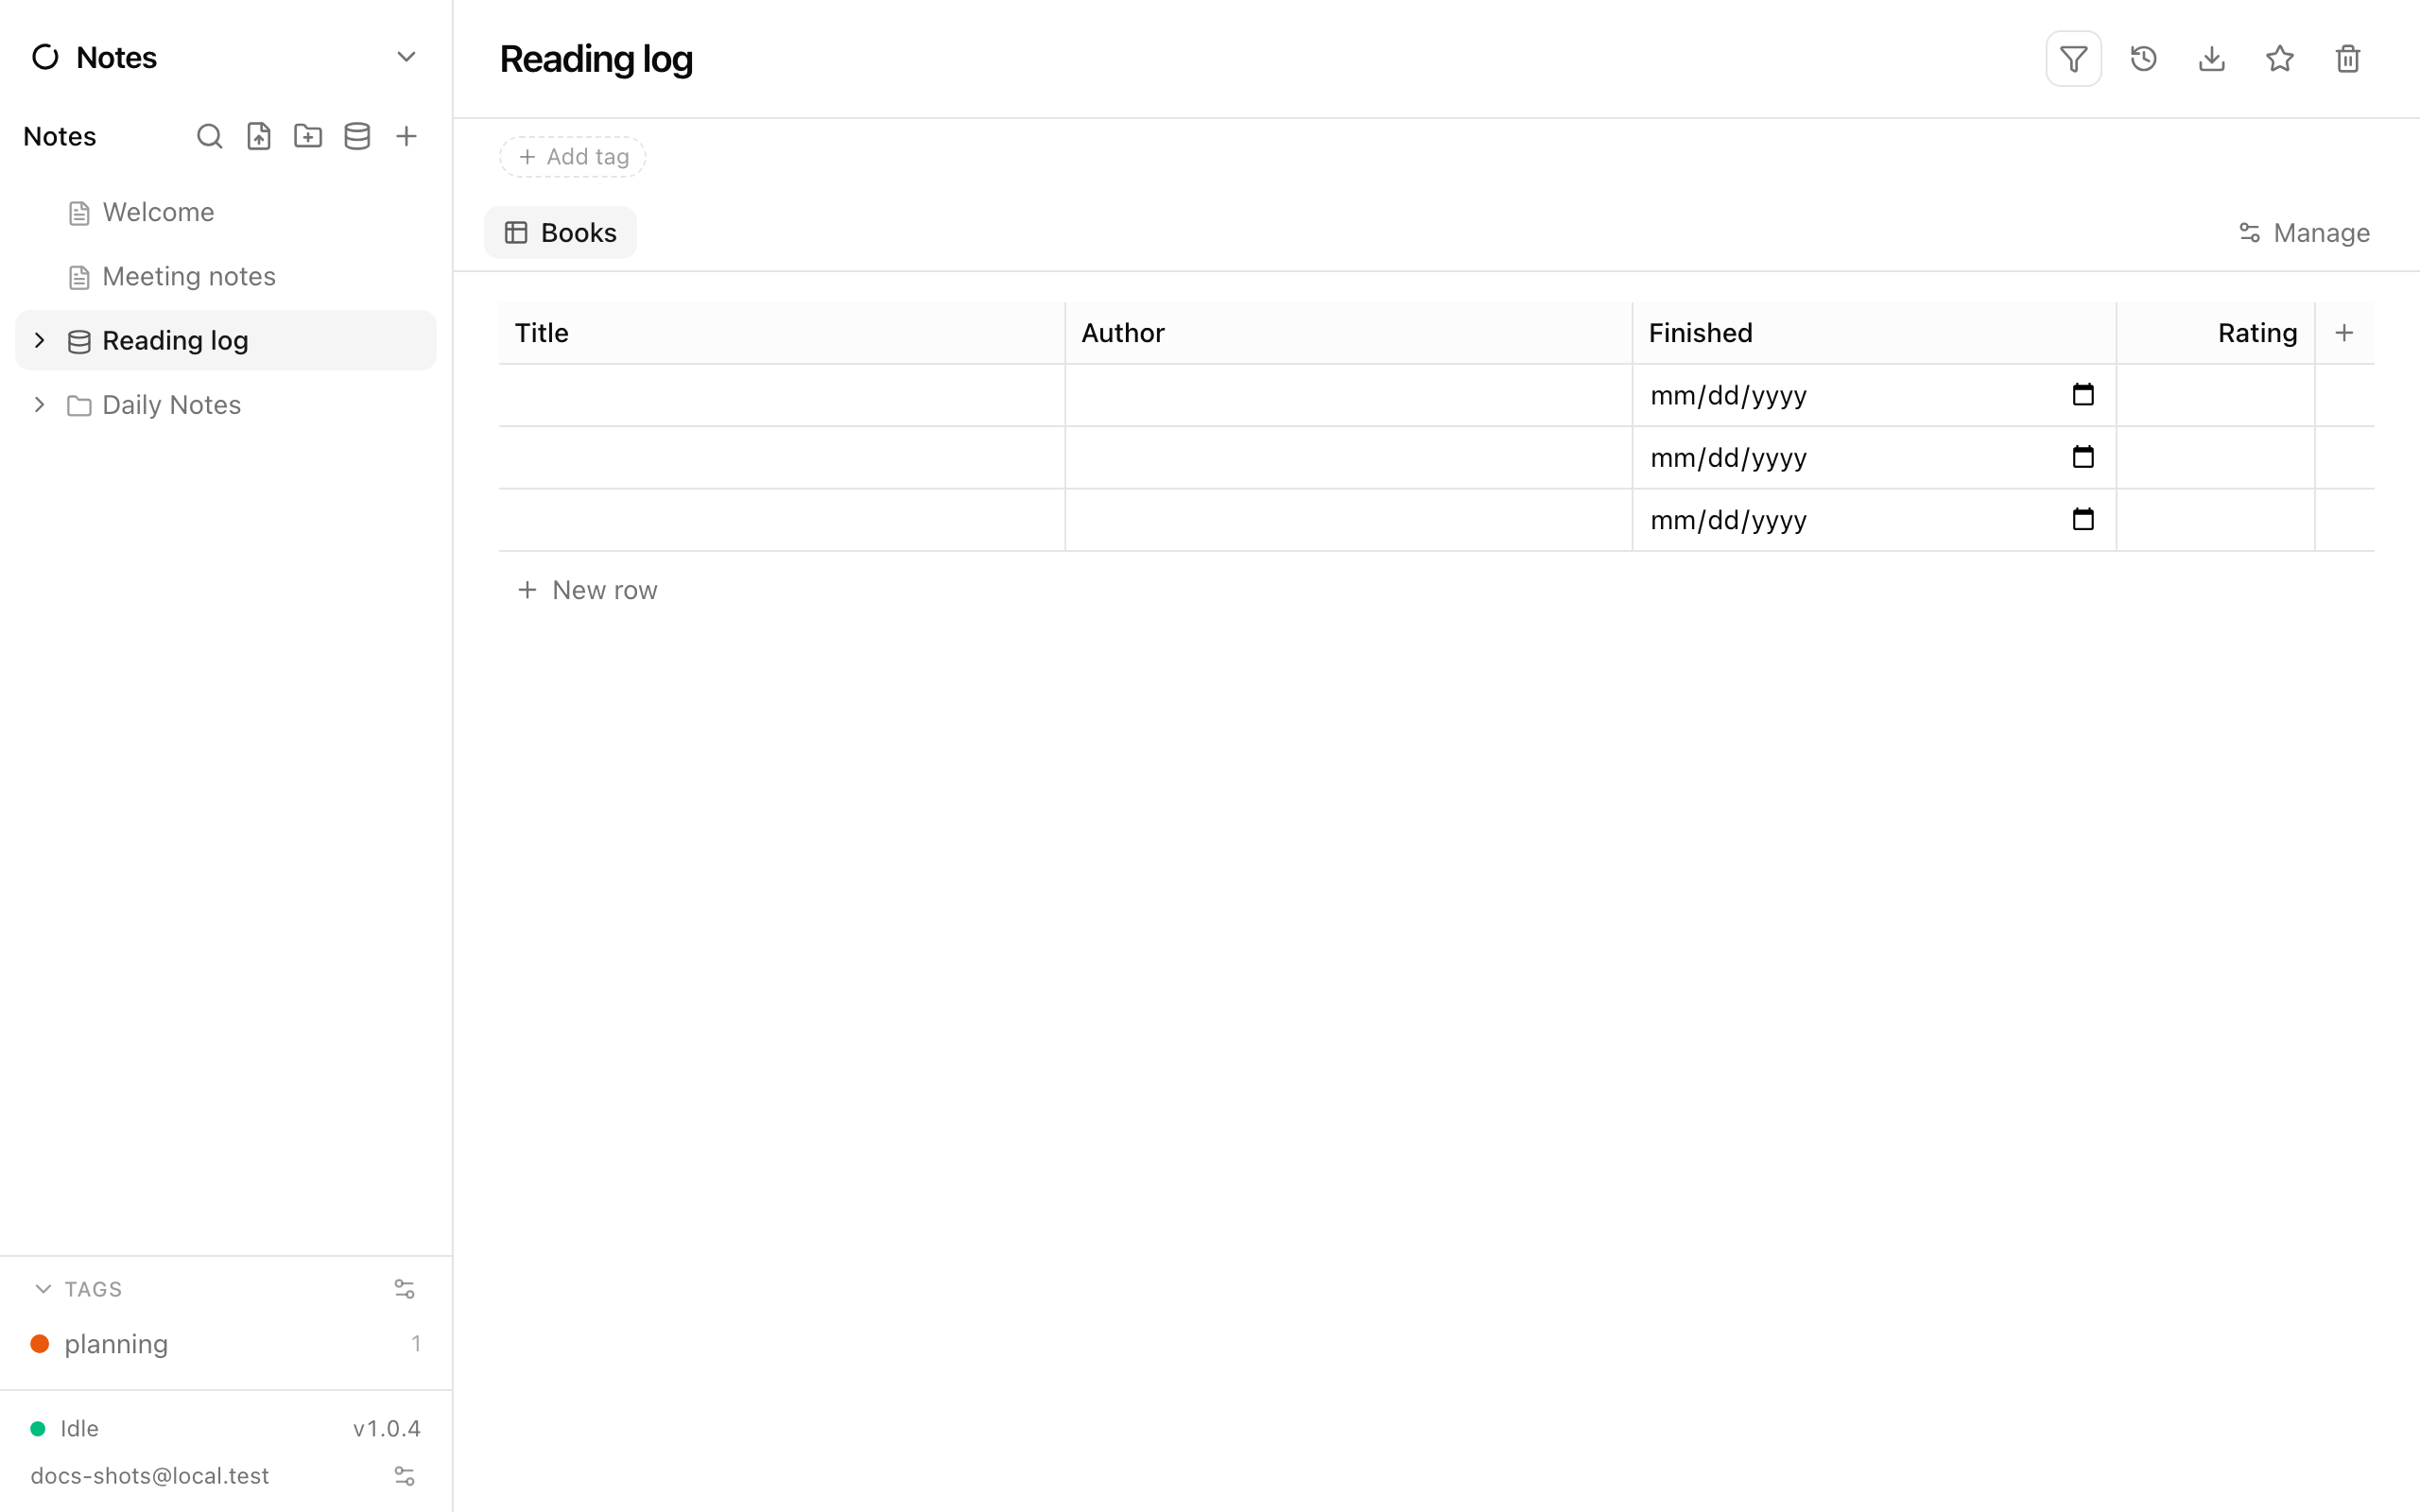
Deposits, and click Add table. - Click Add the first column. Name it
Date, choose type Date, click Add column. - Use the + (Add column) in the header to add
Amountas Currency andAccountas Select (type options in Add option… and click Add). - Click New row a few times and fill in the cells inline.
Column types are Text, Number, Date, Checkbox, Select, and Currency. Click a column header to Edit column.
7. Add a dashboard with a chart
Section titled “7. Add a dashboard with a chart”- Click Manage at the right of the tab strip. Under Views, click New view.
- Name it
Overview, set the type to Dashboard, and click Add view. Open the new tab. - Click Add widget. Choose Line chart, title it
Deposits over time, pick the Deposits table, Date as the X axis and Amount as the Y axis, then Add widget. - Add a Stat widget: Amount with Sum to show the total.
Other widgets: Formula (e.g. sum(Deposits.Amount)), Recent rows, Progress bars (a label, a value, and a goal per row), and Section heading to group cards. Hover a card for Edit widget, Move up/down, and Delete widget. Tables and views can be hidden from the sidebar, renamed, or made the default view from Manage.
Where next
Section titled “Where next”- Notes — page history, folding, page modes, and the widget block for in-page formulas
- Search — Ctrl/⌘+F across everything
- Set up a vault to encrypt a page and its sub-pages